What Is a Rack Mount Patch Panel?
What Is a Rack Mount Patch Panel?
The patch panel is an indispensable component of the network system. It serves as a static switchboard which connects a lot of devices to the central or critical hardware. Based on different application environment, patch panel can be classified into rack mount patch panel and wall mount patch panel. Rack Mount Patch Panel Wiki: What's It? Why Use It? How to Use It?
What Is a Rack Mount Patch Panel?
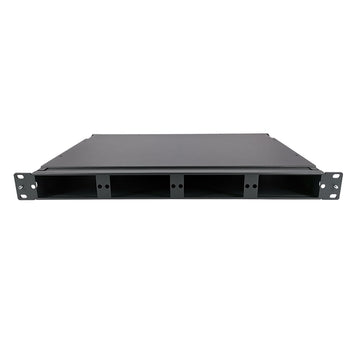
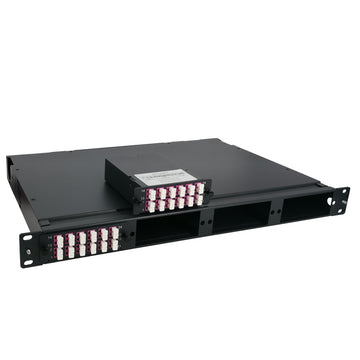
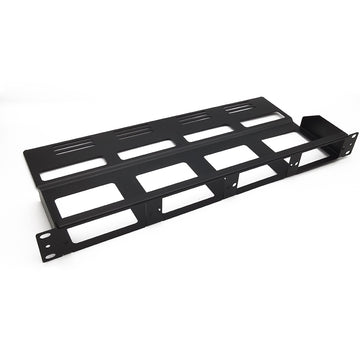
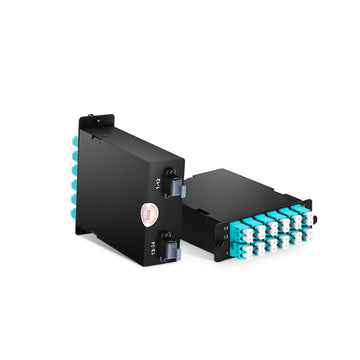
Patch panels are integral components of any network system. This equipment helps keep data systems and server rooms organized, functional and easily accessible. Rack-mount fiber enclosures are suitable for various applications and come with many advantages to users, making cable management, connection and efficiency easier. Rack-mount patch panels are mounted hardware assembly systems commonly used in enterprise networks and data centers.
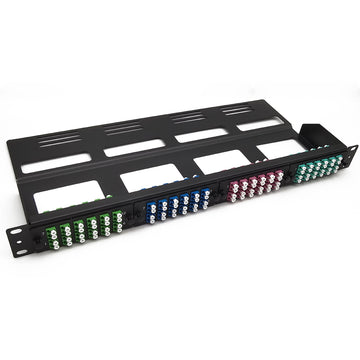
This equipment contains several ports that allow users to connect, manage and organize both incoming and outgoing cables. Each port leads to a different device, while the panels bundle the cables together and connect them to another network. Patch panels attach numerous IT devices to one another and act as a centralized location for cable connections.
Why Use a Rack Mount Patch Panel?
As mentioned above, the rack mount patch panel plays an important role in network setups. The following highlights some of the advantages.
- Simple for cable management – With rack mount patch panels, all cables can be collected in one location. It offers the easy and organized management of the network cabling.
- Convenient for reconfiguration – Since cables are terminated on the patch panel, the networking hardware like switches won’t be disturbed when adding or removing some cables. And the patch panel’s ports are often labeled, which is easy for you to find the right slots. Therefore, it is convenient to make some changes of the cabling.
- Saving wear and tear – Because all of the connections are made with the patch panel that there is no need to plug or unplug the cables directly from the devices. Thus, using a rack mount patch panel also saves wear and tear on the input ports of expensive networking devices.
How to Use a Rack Mount Patch Panel?
Generally, there are three main steps for you to install a rack mount patch panel.
Preparation
Before installation, the user should make some preparations:
- Evaluate the number of rack units that will be used.
- Determine the number and the size of the patch panel.
- Choose the jacks that you are going to utilize.
- Make sure the patch cords are matched to the installed cables.
Installation
When a pre-loaded rack mount is held, you can start installing a patch panel.
- Hold the drawer of patch panel in an upwards position and push it forwardly.
- Attach the patch panel assembly to the rack with the appropriate machine screws.
- Insert each cable into the matching port and then use a strap to secure the cables. (Notice: For fiber optical cables, a Velcro cable tie is suggested to strap. While for copper cables, a Nylon cable tie is recommended.)
- Write specific information on labels for identification if you need.
Validation
After completing the second step, you still need to make a visual inspection to ensure all devices are in a safe environment. Then, the installation is finished.
Conclusion
The rack mount patch panel provides an ideal solution to optimize your network setups. When choosing rack mount patch panels, port density, rack size and space should be considered.
Some of the many convenient and innovative features of our rack-mount fiber patch panels include: - Standardized 19" and 23" rack mount compatibility. - Customizable configurations - High fiber capacity - Excellent fiber management.
